
The video follows the first setup step from the demo account, using an operating checking account and business savings account before showing the Dashboard at 1 of 4 steps complete.

Continue setting up Cash Manager by adding the bills and other payments your business expects to make. In this walkthrough, you will see how to add recurring and one-time bills, choose the payment schedule, assign each bill to an account and category, and enter the next due date. Once the bills are added, Cash Manager begins using them to build your projected cash picture. You can start seeing how upcoming payments may affect the business before completing the remaining setup steps. This is Step 2 of the Cash Manager setup process.
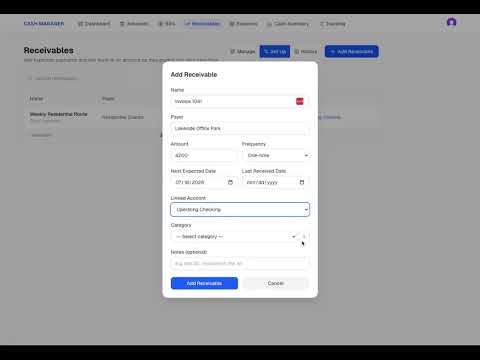
Continue setting up Cash Manager by adding the payments your business expects to receive. In this walkthrough, you will see how to add recurring and one-time receivables, choose the account where the money is expected to arrive, assign a category, and enter the expected payment date. Cash Manager uses this information to include upcoming income in your projected cash picture before the payment arrives. This is Step 3 of the Cash Manager setup process.
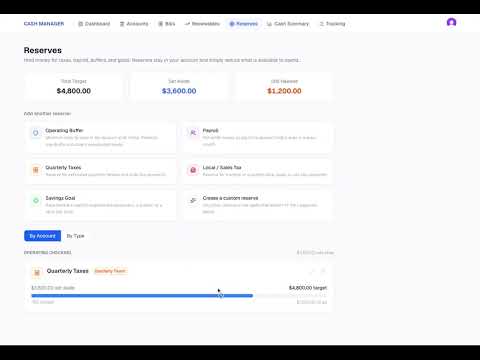
Complete the Cash Manager setup process by adding money set aside for future business needs. In this walkthrough, you will see how to create reserves for quarterly taxes, payroll, and an operating buffer. You will also see how to enter a target amount, record what has already been set aside, and connect each reserve to a cash account. The money remains in the account, but Cash Manager separates it from the amount shown as available to use. After the reserves are added, the Dashboard shows the complete cash position: Cash on Hand Cash Reserves Cash Available This is Step 4 of the Cash Manager setup process.

After completing the four Cash Manager setup steps, the next step is understanding what the information actually shows. In this walkthrough, we review the Cash Manager screens using the cash accounts, bills, expected receivables, and reserves entered during setup. You will see how the information connects to create a current and projected view of the business cash position. The account appears to remain in a healthy position through the current year. When the projection extends into the following year, the cash runs short. That future view gives the business owner time to recognize the problem and consider what may need to change before the account reaches that point. This video shows how Cash Manager helps you look beyond the balance today and see where the business cash is headed based on the information entered.