
See how Business Cash Manager brings your current cash, upcoming bills, expected payments, reserves, and future projections together in one place.

Learn how to add your business cash accounts and current balances so you can begin building your Cash Manager Dashboard from where your business stands today.

Learn how to add upcoming bills so Cash Manager can begin showing how expected payments may affect your future cash position.
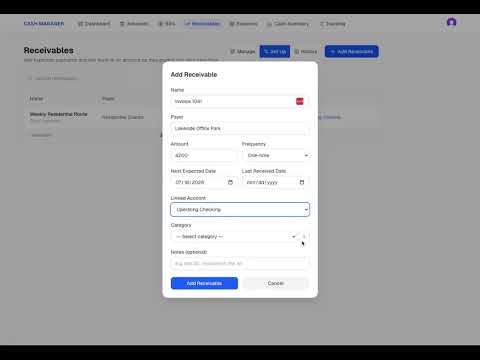
Learn how to add expected client payments so Cash Manager can include upcoming income in your projected cash position before the money is received.
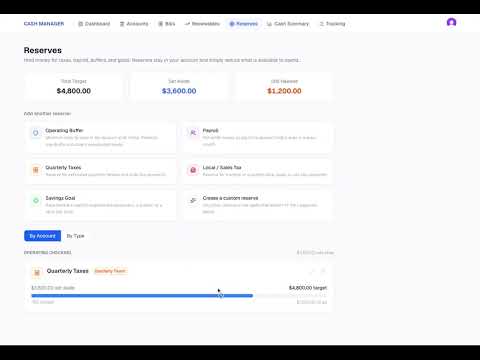
Learn how to create reserves for future business needs and see how reserved cash changes the amount Cash Manager shows as available to use.

See how your accounts, bills, expected receivables, and reserves come together to show both your current cash position and where your cash may be headed.

Learn how to enter cash activity, compare Cash Manager with your bank balance, and confirm which expected bills and payments have actually been completed.

See how to keep recurring bills and receivables current in just a few minutes and what happens when a payment is still outstanding.

See how adding missing transactions can fill gaps in your Cash Manager history and help your Cash Summary better reflect the actual movement of cash over time.

Learn how to reconcile Cash Manager with your online banking or banking app and confirm that the cash activity you recorded matches what actually cleared your account.

See what happens when an expected client payment becomes more than 30 days overdue and how Cash Manager adjusts your projections to reflect the delay.

See how to record a client payment that arrives after its expected date and update the transaction so your cash history reflects when the money was actually received.

See another way to reconcile Cash Manager with your bank account by adding cleared transactions first and confirming the balances match afterward.
